

Click to enlarge

in stock
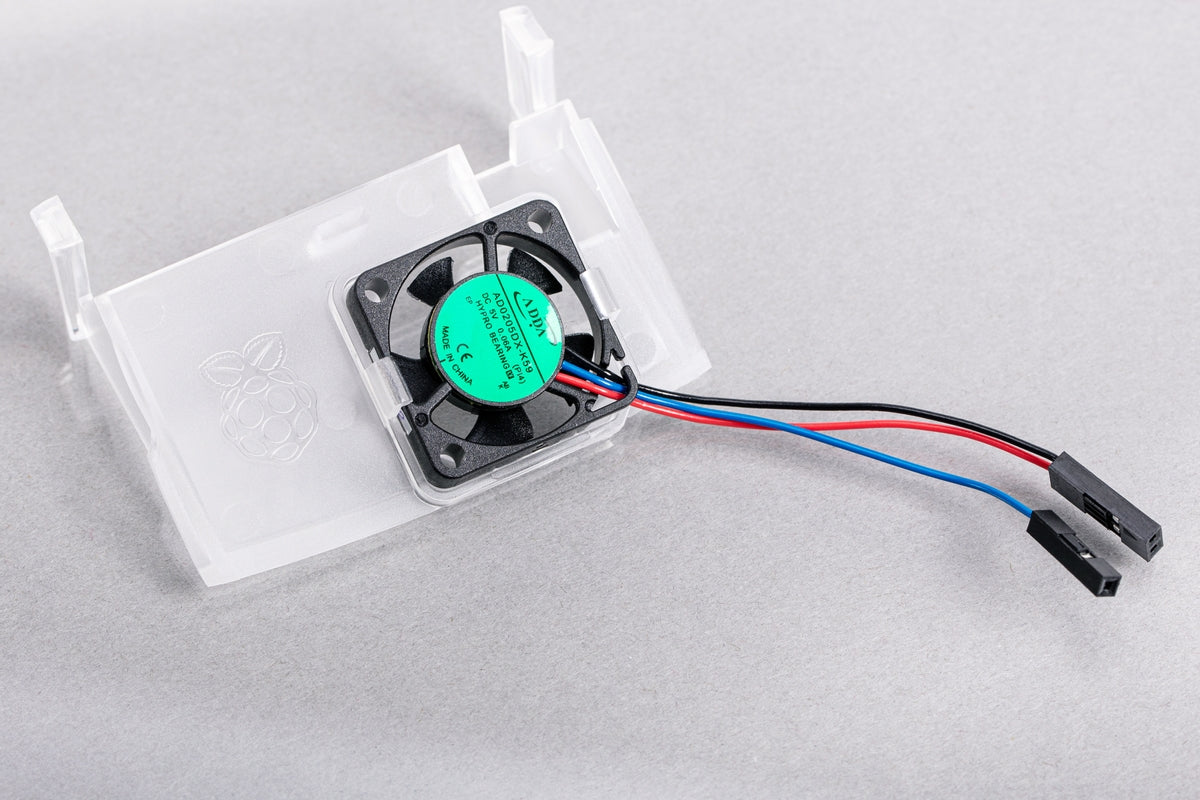
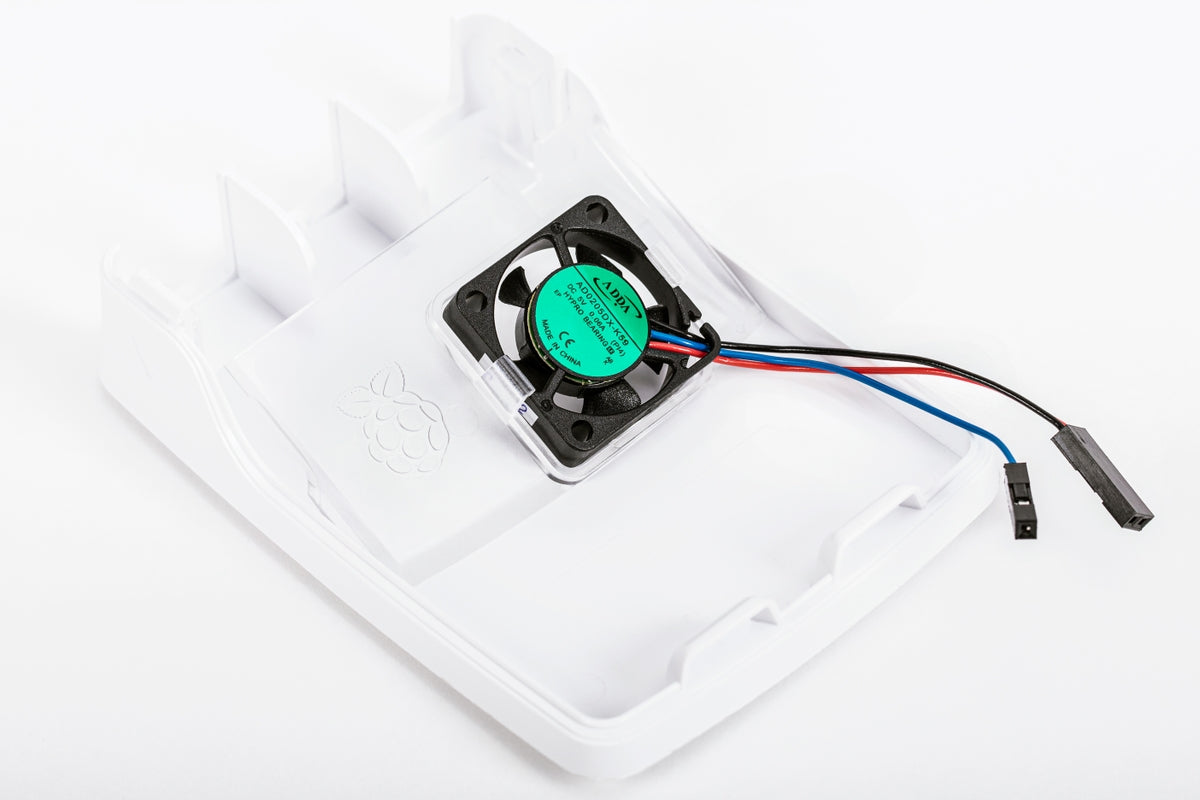
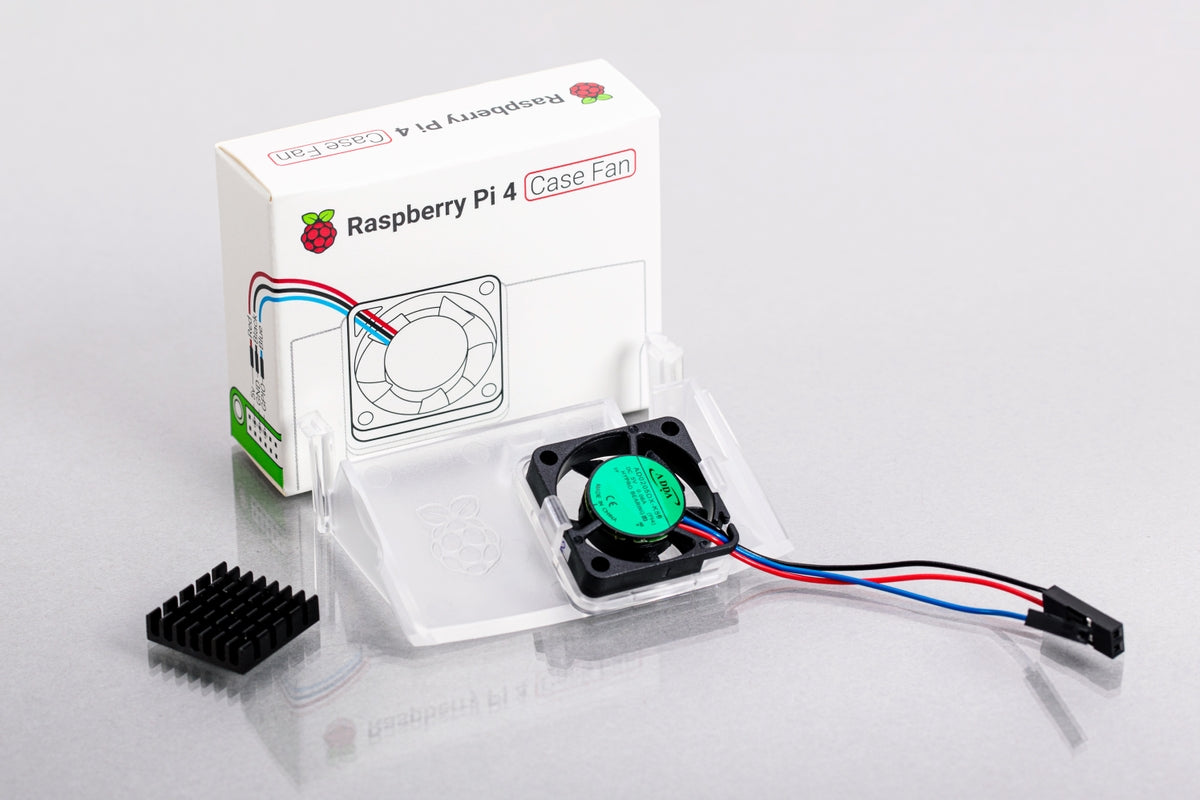
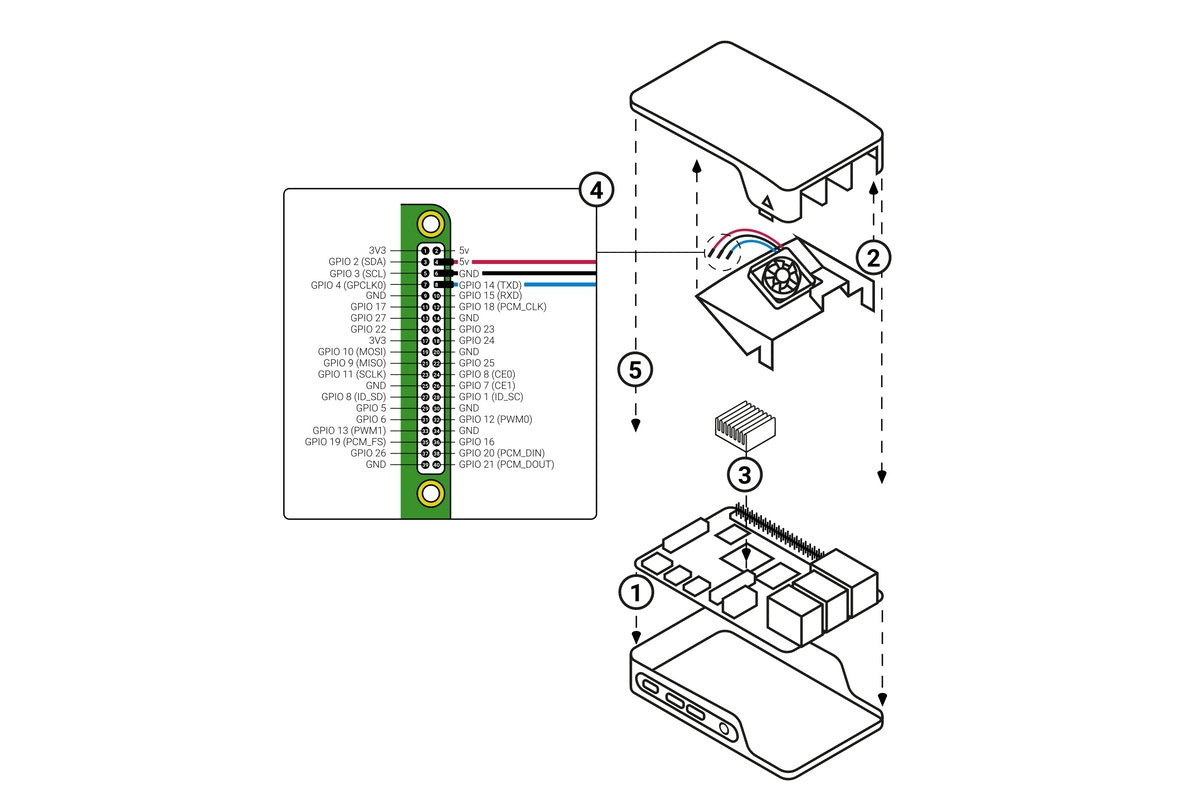
Raspberry Pi 4 Official Case Fan
SKU: SE-RPI-50
Rs. 350.00
Order in The Next to get it by
Real Time 46 Visitor Right Now